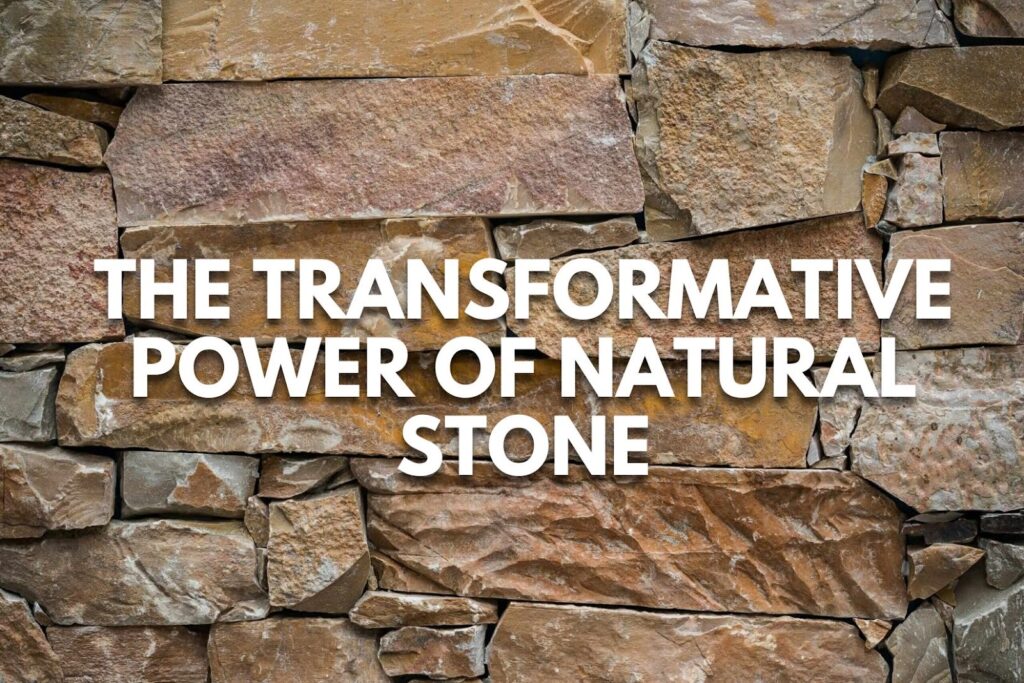
When it comes to home improvement, nothing screams “elegant yet sturdy” quite like natural stone. The timeless charm of sandstone cladding, stone wall cladding, and natural stone cladding can elevate any space from ordinary to extraordinary. But here’s the kicker—you don’t need to spend a fortune to achieve that designer look. With a bit of creativity and effort, you can tackle these stone-based projects yourself, saving money and earning bragging rights.
In this blog, we’ll walk you through some budget-friendly DIY stone projects that will transform your space while offering a dose of humor to make the process less daunting.
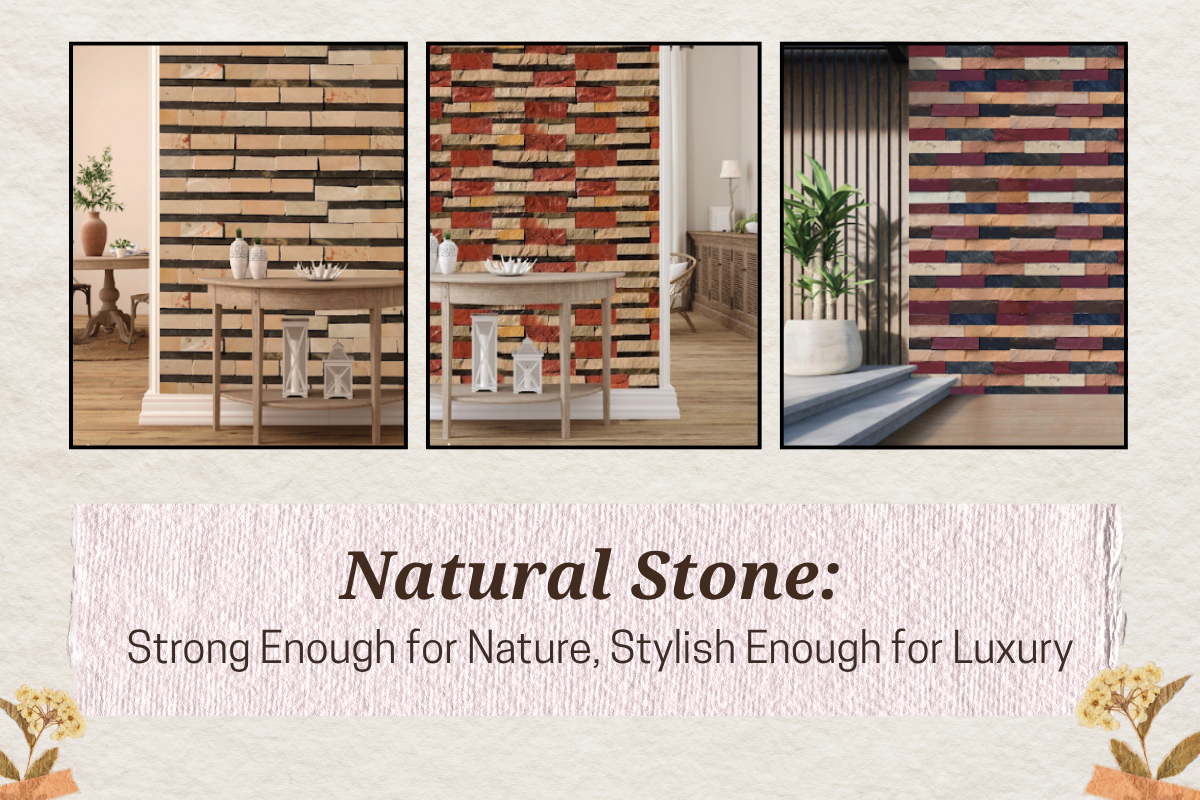
1. Accent Walls with Sandstone Cladding
Nothing changes the vibe of a room like a textured accent wall. Installing sandstone cladding is a perfect way to add rustic charm to your living room or bedroom.
How to Do It:
Step 1: Measure the wall. (And no, “eyeballing it” doesn’t count as accurate measurement.)
Step 2: Purchase enough stone wall cladding pieces, plus 10% extra for errors. Trust us, mistakes happen.
Step 3: Clean the wall thoroughly—stone cladding doesn’t like dust and grime.
Step 4: Apply a layer of mortar and start placing the stones from the bottom up. Be sure to level each row.
Step 5: Stand back every few rows to admire your handiwork (and avoid accidentally tilting your entire design).
Pro Tip:
Mix different stone sizes to create a natural, organic look. Avoid creating a pattern unless you’re a Tetris champion!
Common Mistake to Avoid: Forgetting to level your first row. One wonky stone can mess up the whole wall, and then you’ll have to explain your “artistic choice” to every visitor.
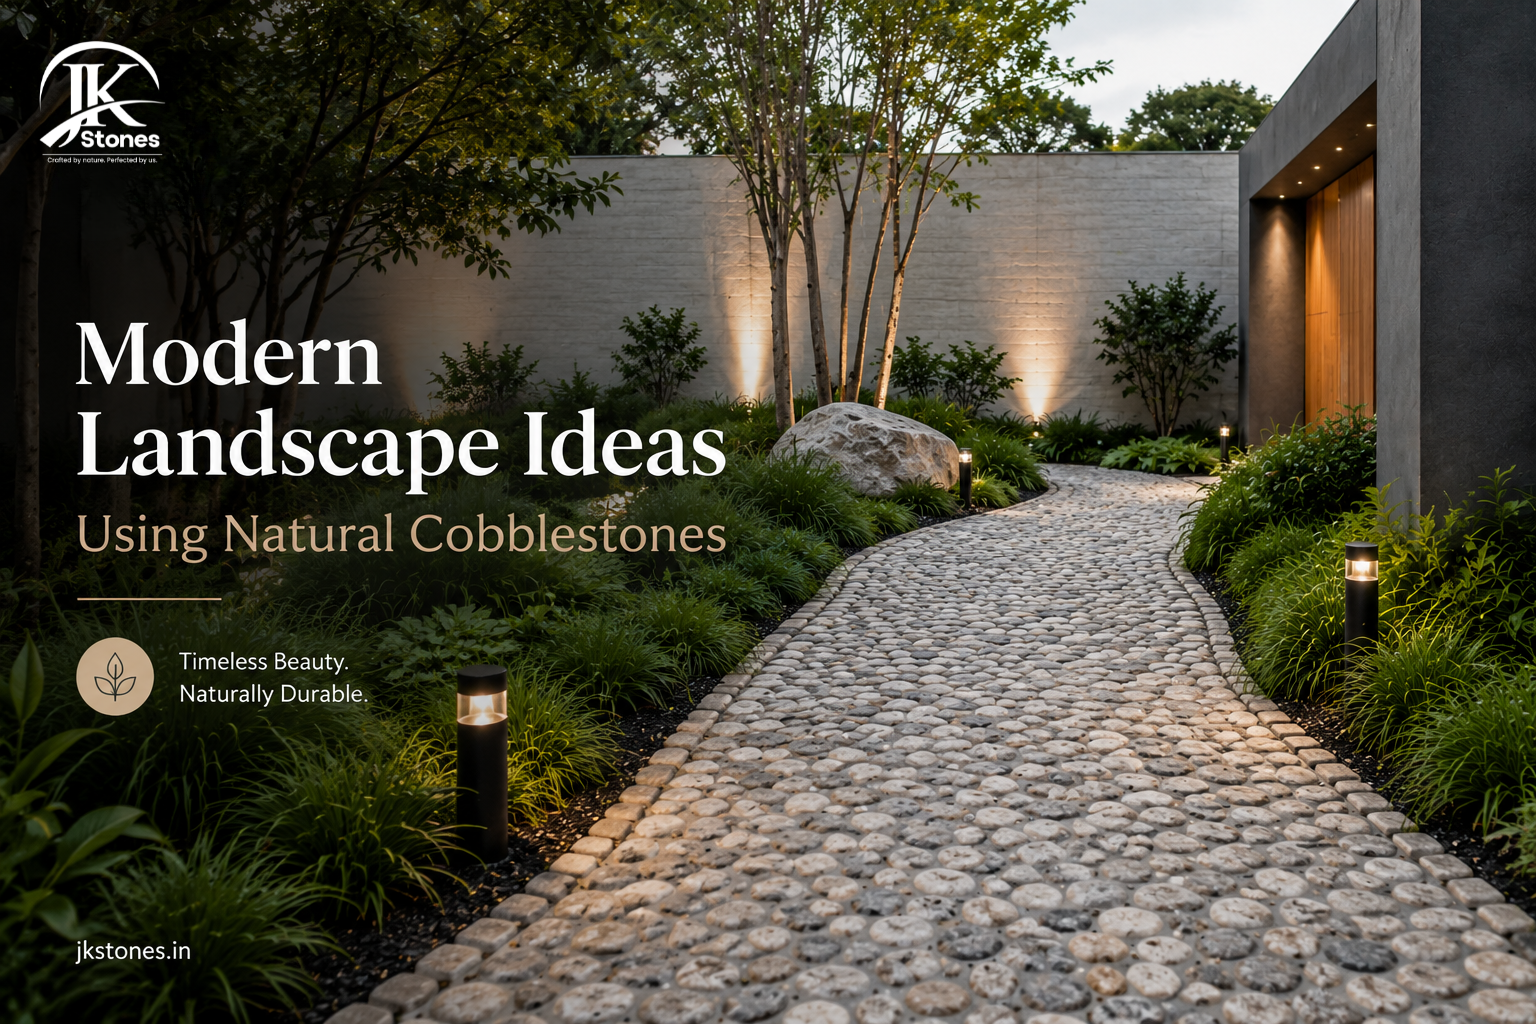
2. Outdoor Stone Pathways on a Budget
Who doesn’t love a charming garden pathway? Using leftover sandstone cladding or small pieces of natural stone, you can create a durable and beautiful walkway.
How to Do It:
Step 1: Plan your pathway route. Bonus points if it meanders artistically like you’re strolling through a secret garden.
Step 2: Dig a shallow trench to set the stones.
Step 3: Lay a layer of sand for the stones to rest on. It’s like tucking them into a cozy bed.
Step 4: Place the stones in the desired arrangement, making sure they’re level.
Step 5: Fill gaps with gravel or smaller stones for added stability.
Common Mistake to Avoid: Not measuring your trench depth evenly. Uneven stones are less “whimsical” and more “trip hazard.”
3. DIY Stone Cladding for Kitchen Islands
Your kitchen island can be more than just a functional piece—it can become the star of your home with stone wall cladding.
How to Do It:
Step 1: Prep the surface of your kitchen island by sanding it smooth.
Step 2: Cut the natural stone cladding pieces to fit your island’s dimensions.
Step 3: Apply adhesive, then press each stone into place. Work in small sections to keep the adhesive from drying out.
Step 4: Seal the stones with a protective coating to prevent stains and spills.
Pro Tip:
Choose lighter-toned stones for smaller kitchens to keep the space looking open and airy.
Common Mistake to Avoid: Skipping the sealing step. One curry spill, and you’ll regret it forever.
4. Fireplace Makeover with Stone Wall Cladding
Turn your plain fireplace into a stunning focal point with sandstone cladding or natural stone cladding.
How to Do It:
Step 1: Remove any existing material covering the fireplace. (Demolition is strangely therapeutic, isn’t it?)
Step 2: Measure and cut the stones to fit around the fireplace.
Step 3: Apply a heat-resistant adhesive and start placing the stones.
Step 4: Fill in the joints with grout for a polished finish.
Pro Tip:
Dark stones create a dramatic look, while light stones make the space feel warm and inviting.
Common Mistake to Avoid: Forgetting about heat resistance. Regular adhesives can melt under high temperatures, and that’s not the kind of warmth you want.
5. Upcycled Stone Planters
If you have leftover natural stone cladding, why not use it to create chic planters for your indoor or outdoor garden?
How to Do It:
Step 1: Take an old container (wood, plastic, or metal) and cover it with stone wall cladding using strong adhesive.
Step 2: Let it dry for 24 hours before placing soil and plants inside.
Step 3: Arrange your planters around the house or garden for a sophisticated touch.
Common Mistake to Avoid: Not ensuring proper drainage. Plants don’t like soggy roots, and you don’t want to deal with grumpy greenery.
Final Thoughts
DIY projects with sandstone cladding, natural stone cladding, and stone wall cladding can be both cost-effective and rewarding. These projects not only enhance your home’s aesthetic appeal but also bring a sense of accomplishment every time someone compliments your work.
So, grab your tools, channel your inner stone artist, and get started! Just remember—measure twice, glue once, and don’t forget to laugh at your mistakes along the way.
Ready to explore the finest selection of natural stone materials for your DIY projects? Visit JK Stones and find the perfect cladding to bring your vision to life!