Table of Contents:
I. Introduction
A. Brief overview of stone wall cladding
B. Importance of DIY projects for homeowners
II. Choosing the Right Stones
A. Different types of stones for cladding
B. Factors to consider when selecting stones
III. Tools and Materials
A. Essential tools for stone wall cladding
B. Necessary materials for a successful project
IV. Preparing the Surface
A. Cleaning the wall
B. Ensuring a smooth and level surface
V. Installing the Moisture Barrier
A. Importance of moisture protection
B. Step-by-step guide to installing a moisture barrier
VI. Applying the Adhesive
A. Selecting the right adhesive
B. Proper application techniques for a strong bond
VII. Placing the Stones
A. Creating a layout plan
B. Techniques for secure stone placement
VIII. Grouting the Joints
A. Choosing the right grout
B. Step-by-step grouting process
IX. Sealing the Stones
A. Importance of sealing for durability
B. How to properly seal the stone surface
X. Cleaning and Maintenance
A. Tips for maintaining the cladded wall
B. Common issues and how to address them
XI. Cost-Effective Tips
A. Budget-friendly alternatives
B. Maximizing resources for a cost-effective project
XII. Showcasing the Finished Project
A. Capturing the beauty of the stone wall
B. Tips for highlighting the cladded area in your home
XIII. Troubleshooting Common Problems
A. Addressing uneven stones
B. Dealing with adhesive issues
XIV. Benefits of DIY Stone Wall Cladding
A. Sense of accomplishment
B. Cost savings and customization
XV. Conclusion
A. Summarizing the key points
B. Encouraging homeowners to embark on their DIY journey
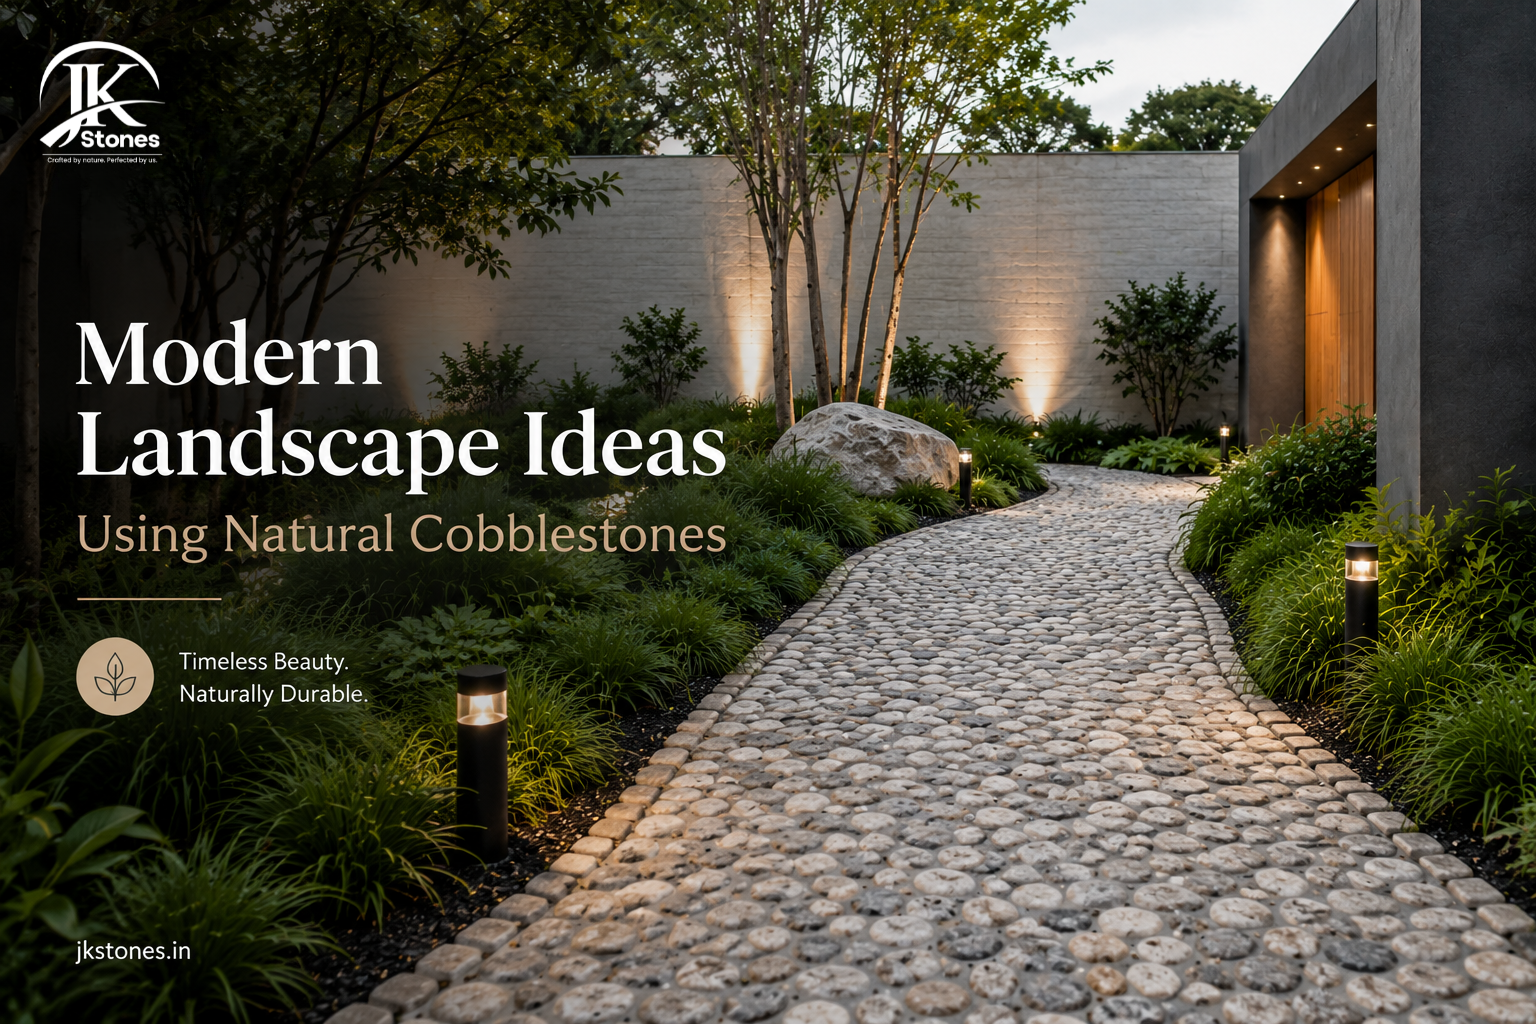
Imagine transforming the facade of your home with a touch of natural elegance. Stone wall cladding is a DIY project that allows homeowners to achieve just that. In this article, we’ll guide you through the process step by step, ensuring a successful and visually appealing result.
I. Introduction
A. Brief overview of stone wall cladding
Stone wall cladding involves applying a layer of natural stone to an existing wall, creating a stunning and textured surface. It adds character to your home and boosts curb appeal.
B. Importance of DIY projects for homeowners
Engaging in DIY projects not only saves money but also provides a sense of accomplishment. Stone wall cladding allows homeowners to personalize their spaces and contribute to the aesthetic value of their homes.
II. Choosing the Right Stones
A. Different types of stones for cladding
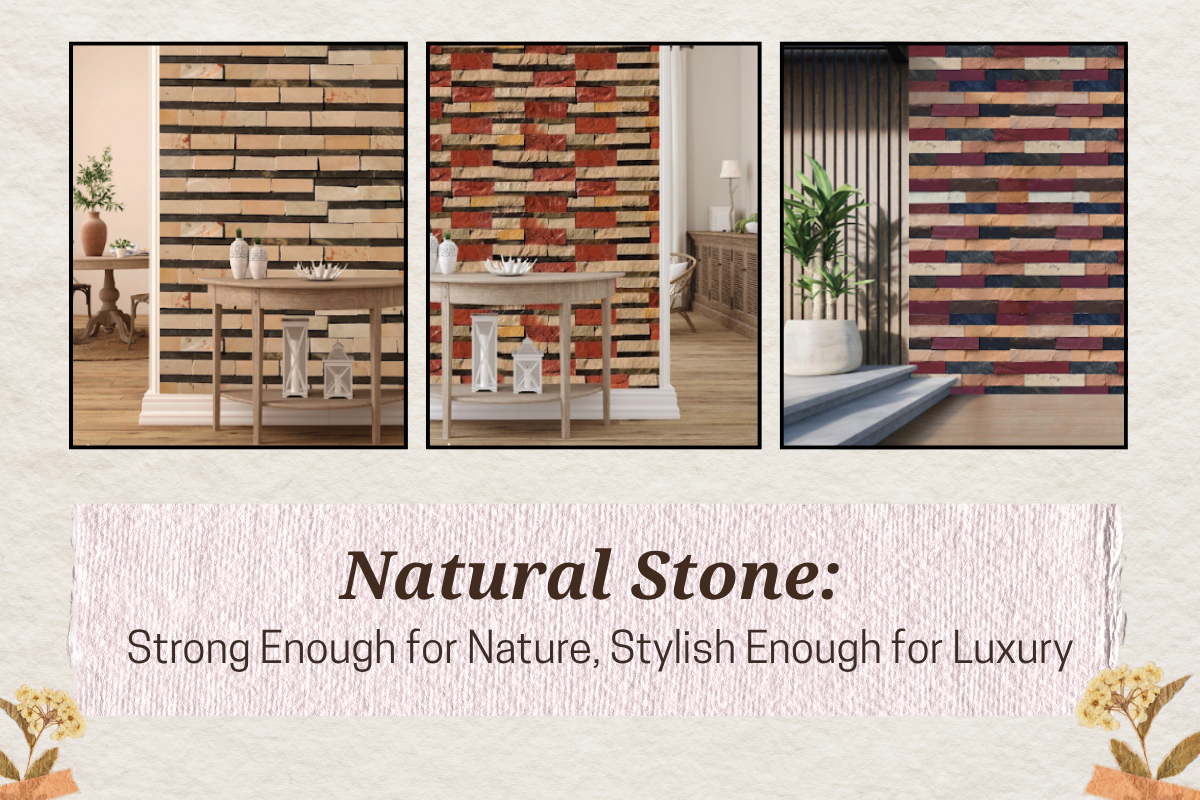
Selecting the right stones is crucial for a successful project. Choices range from rugged fieldstone to sleek granite, each offering a unique look.
B. Factors to consider when selecting stones
Consider factors such as the climate, architectural style, and personal preference when choosing stones. Ensure they complement the overall design of your home.
III. Tools and Materials
A. Essential tools for stone wall cladding
Gather tools like a wet saw, trowel, and spirit level for precision. Having the right tools makes the project smoother and more enjoyable.
B. Necessary materials for a successful project
From adhesive to grout, ensure you have all the materials on hand before starting. Being prepared minimizes interruptions during the process.
IV. Preparing the Surface
A. Cleaning the wall
Clean the existing wall thoroughly, removing dirt and debris. A clean surface ensures a proper bond between the stones and the wall.
B. Ensuring a smooth and level surface
Address any irregularities on the wall surface to ensure the stones adhere evenly. Use a level to guarantee a smooth finish.
V. Installing the Moisture Barrier
A. Importance of moisture protection
Protect your investment by installing a moisture barrier. This step prevents water damage and ensures the longevity of your stone wall.
B. Step-by-step guide to installing a moisture barrier
Follow a comprehensive guide to apply the moisture barrier effectively. This crucial step safeguards against potential issues in the future.
VI. Applying the Adhesive
A. Selecting the right adhesive
Choose an adhesive suitable for your selected stones and wall type. Consult with experts if needed to ensure a strong and durable bond.
B. Proper application techniques for a strong bond
Apply the adhesive evenly, using the right techniques to guarantee a secure attachment. This step sets the foundation for a long-lasting stone wall.
VII. Placing the Stones
A. Creating a layout plan
Plan the arrangement of stones to achieve the desired look. Experiment with layouts before committing to ensure satisfaction with the final result.
B. Techniques for secure stone placement
Employ techniques like back-buttering to enhance adhesion. Ensuring a secure placement minimizes the risk of stones shifting over time.
VIII. Grouting the Joints
A. Choosing the right grout
Select grout that complements the stones and enhances the overall appearance. Consider both color and texture for a cohesive finish.
B. Step-by-step grouting process
Follow a systematic approach to grouting, ensuring all joints are filled evenly. Proper grouting contributes to the structural integrity of the cladded wall.
IX. Sealing the Stones
A. Importance of sealing for durability
Seal the stones to protect against stains and weathering. This step enhances the longevity of your stone wall, maintaining its beauty over time.
B. How to properly seal the stone surface
Apply the sealer following manufacturer guidelines. Regularly reseal as needed to preserve the appearance and integrity of the stones.
X. Cleaning and Maintenance
A. Tips for maintaining the cladding wall
Implement simple cleaning routines to keep your stone wall looking pristine. Regular maintenance prevents the buildup of dirt and grime.
B. Common issues and how to address them
Be proactive in addressing issues such as loose stones or grout damage. Timely interventions prolong the life of your stone wall.
XI. Cost-Effective Tips
A. Budget-friendly alternatives
Explore cost-effective alternatives for both materials and tools. DIY doesn’t have to break the bank; discover ways to save without compromising quality.
B. Maximizing resources for a cost-effective project
Make the most of your resources, repurposing materials where possible. Smart choices contribute to a cost-effective yet impressive stone wall.
XII. Showcasing the Finished Project
A. Capturing the beauty of the stone wall
Highlight the beauty of your DIY project by strategically placing lighting or using complementary landscaping. Showcase your newfound curb appeal.
B. Tips for highlighting the cladded area in your home
Integrate the stone wall into your overall design scheme. Consider it as a focal point, complementing other elements in your home.
XIII. Troubleshooting Common Problems
A. Addressing uneven stones
Rectify uneven stones promptly to prevent stability issues. Adjust the adhesive and reposition stones as necessary.
B. Dealing with adhesive issues
If adhesive-related problems arise, consult with experts for solutions. Addressing issues promptly ensures the longevity of your stone wall.
XIV. Benefits of DIY Stone Wall Cladding
A. Sense of accomplishment
Completing a DIY project like stone wall cladding brings a sense of pride and accomplishment. Revel in the transformation you’ve made to your home.
B. Cost savings and customization
Save on labor costs by taking on the project yourself. Additionally, enjoy the freedom to customize the design according to your preferences.
XV. Conclusion
A. Summarizing the key points
Embarking on a DIY stone wall cladding project is a rewarding endeavor. From stone selection to maintenance, the process allows homeowners to infuse their personality into their living spaces.
B. Encouraging homeowners to embark on their DIY journey
Don’t be afraid to take the plunge into the world of DIY. Stone wall cladding is a manageable project with the potential to elevate the aesthetic appeal of your home.
FAQs
Is stone wall cladding suitable for all types of walls?
- Stone wall cladding can be applied to various wall types, including brick, concrete, and drywall. However, consulting with professionals is advisable to ensure compatibility.
How long does the entire DIY process take?
- The duration depends on factors like wall size, stone type, and your level of experience. On average, it may take a few days to complete the project.
Can I apply stone wall cladding indoors?
- Yes, stone wall cladding can enhance interior spaces as well. Ensure proper ventilation during the installation process.
What is the best way to clean a stone-clad wall?
- Use a mild detergent and a soft brush or cloth to clean the surface. Avoid abrasive materials to prevent damage to the stones.
Is professional help necessary for stone wall cladding?
- While it’s a DIY-friendly project, seeking professional advice or assistance can ensure optimal results, especially for complex installations.